In this guide I’ll show you how to set the Power Plan of Windows to High Performance during the OSD.
This is good for one main reason: Speed up the deployment time. It seems that after some tests, this can speed up the OSD by 20-50% (depending on the environment and the deployment).
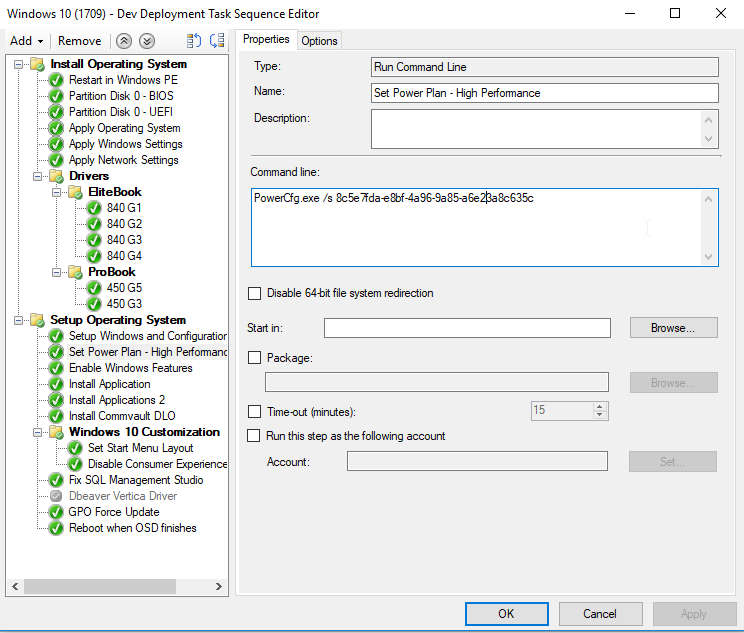
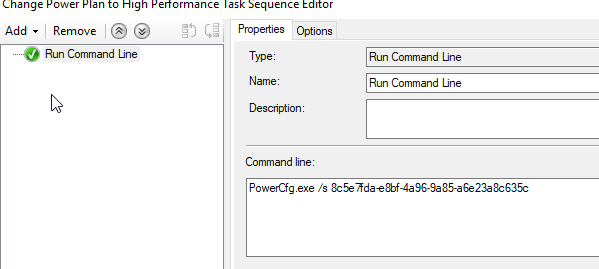
First, create a new “Run Command Line” step.
In the command line add this:
PowerCfg.exe /s 8c5e7fda-e8bf-4a96-9a85-a6e23a8c635c
Note
Every power plan has it’s own GUID. If you wish to set it back to something else, simply choose your GUID and implement it later in the TS.
| Mode | Description | GUID |
|---|---|---|
Power Saver | Delivers reduced performance which may increase power savings. | a1841308-3541-4fab-bc81-f71556f20b4a |
Balanced | Automatically balances performance and power consumption according to demand. | 381b4222-f694-41f0-9685-ff5bb260df2e |
High Performance | Delivers maximum performance at the expense of higher power consumption. | 8c5e7fda-e8bf-4a96-9a85-a6e23a8c635c |
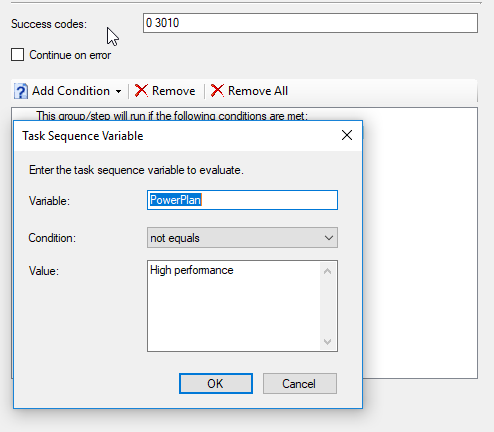
Under the Options tab, create a TS Variable like this:
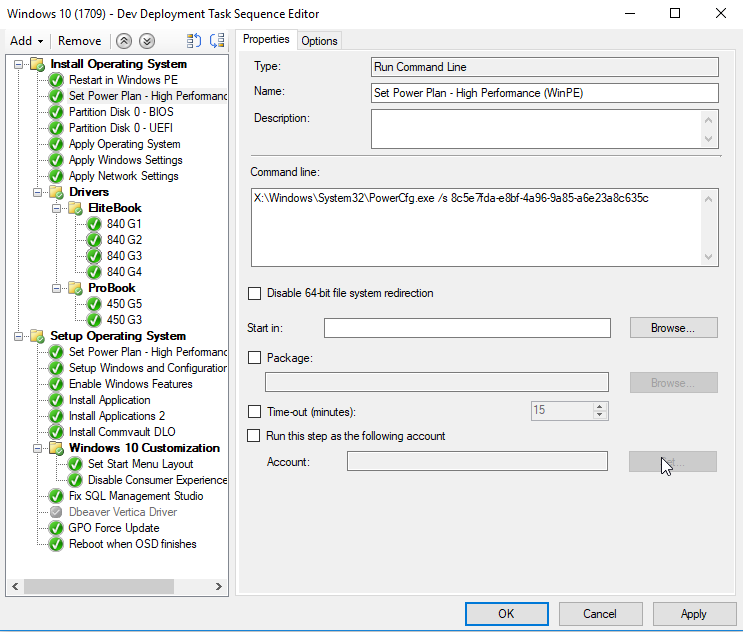
Now, I also added this power plan to take affect during WinPE as well like this:
X:\Windows\System32\PowerCfg.exe /s 8c5e7fda-e8bf-4a96-9a85-a6e23a8c635c
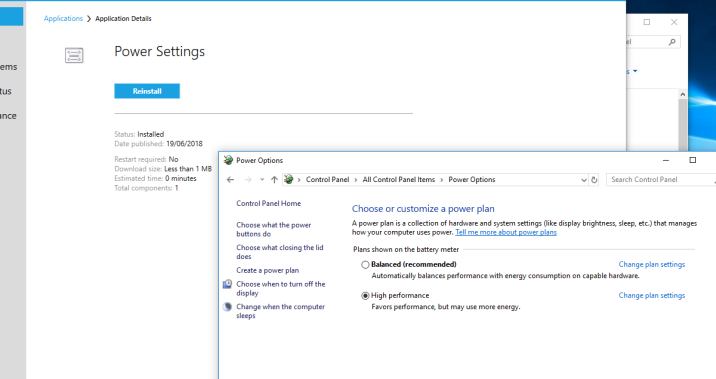
For testing purposes, I created a TS for this alone:
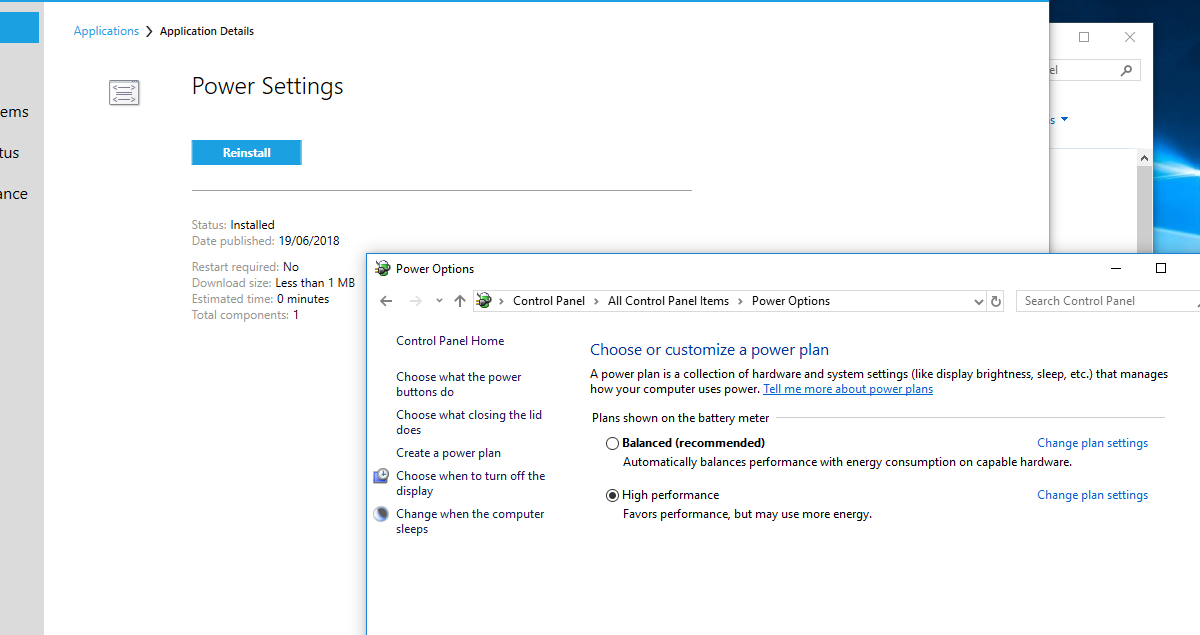
Deploying it to my machine worked great:
That’s it, hope it helps someone 😊